For today’s activities, we’re going to use a JavaScript library called p5.js. You can use p5.js for artwork, data visualization, or simply in tandem with HTML, CSS and JavaScript
https://www.youtube.com/watch?v=8j0UDiN7my4&
We’ll be using the P5 editor. Sign up for an account and link to it on your student portfolio: https://editor.p 5js.org/
→ your url should look like: https://editor.p5js.org/your_username/sketches
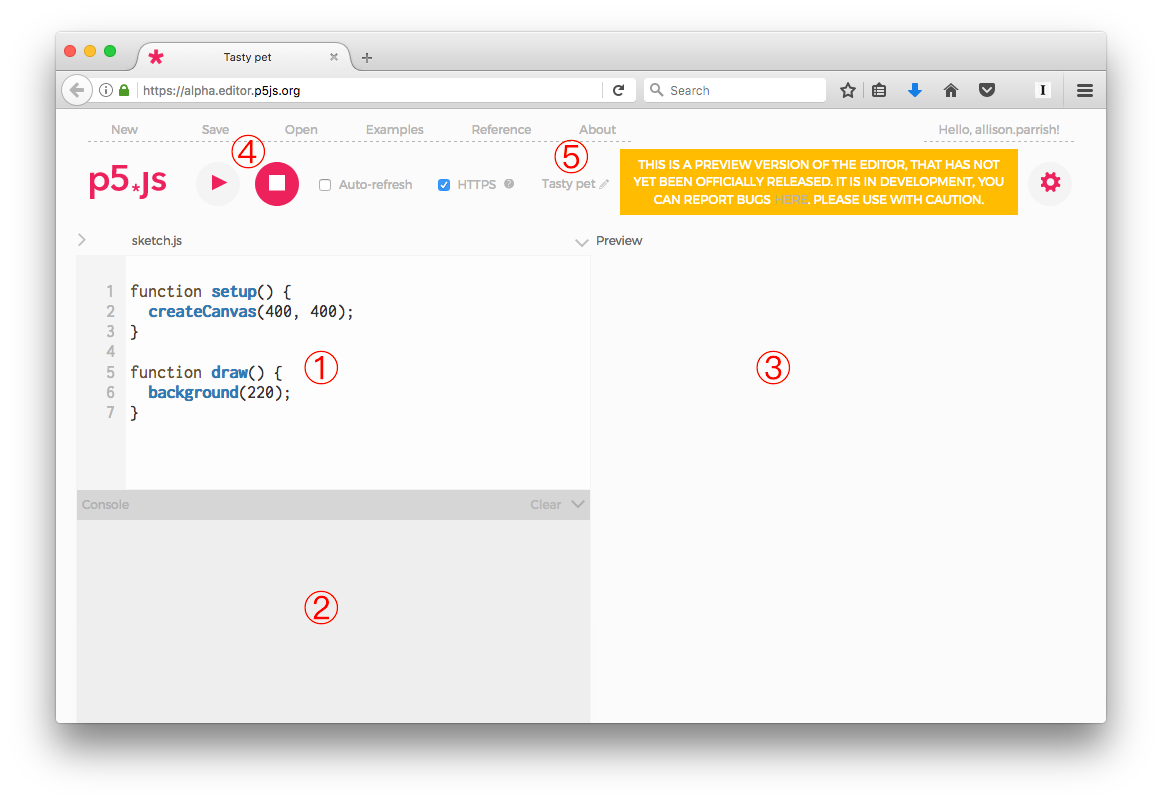
Screenshot of p5.js web editor with circled numbers
You’re able to use the web editor w/o being logged in, but please create an account so that you can store and share your sketches.
Anatomy (Matches up to the numbers in the image)
Processing is a tool developed to allow beginner’s to create prototypes and explorations very quickly. For this reason, P5.js (and processing) executions are referred to as sketches.
All sketches have both a setup function and a draw function.
The setup() function is used to set your sketch’s size. You can leave it blank to use default values, or you can specify it to your liking.